


haha
Active member
I've had this up on another forum for some time. Thought maybe a few people might enjoy looking at some pictures.. 
Phil
Phil
haha said:(...like a month ago)

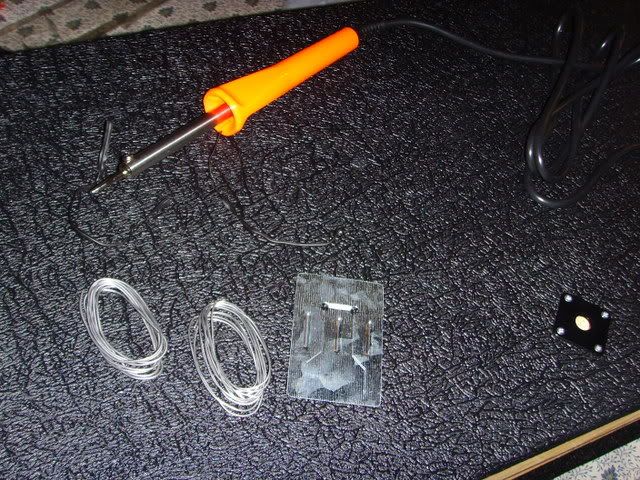
Let's see what's in it shall we?
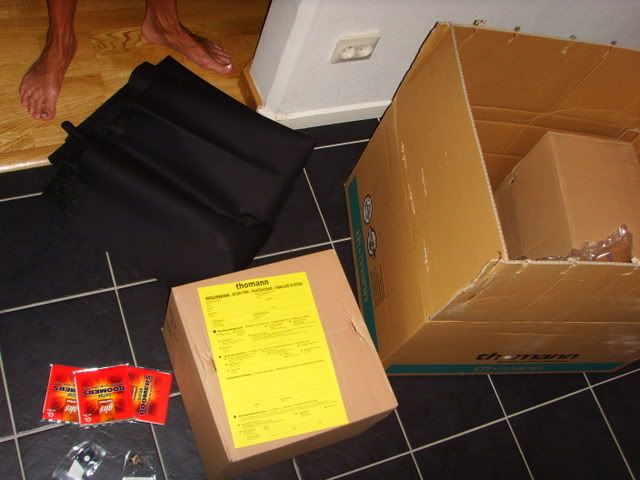
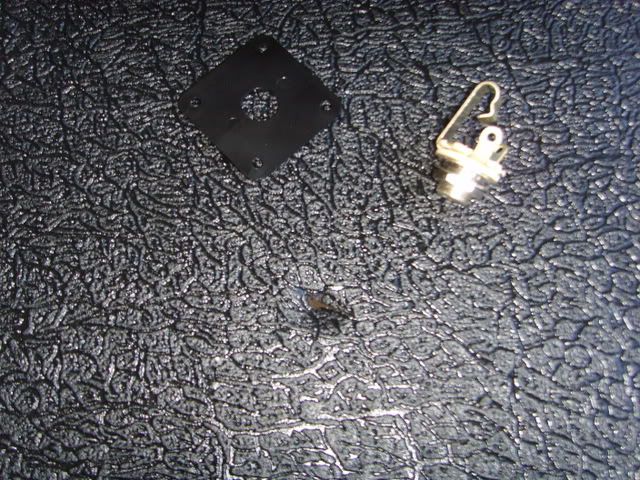
Hm.. A piece fabric, strings, input-jack and plate, more boxes?
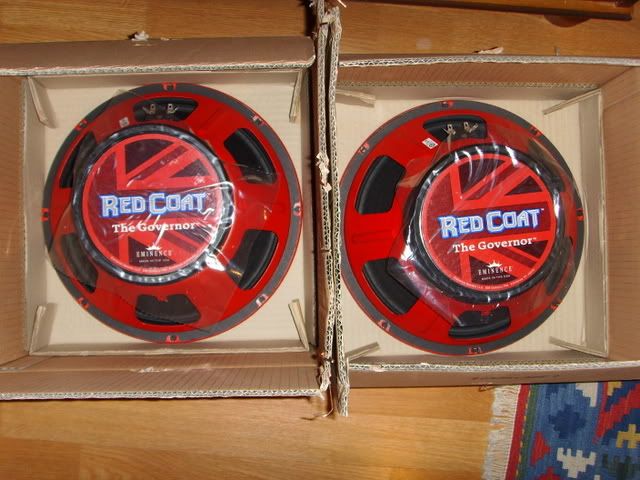
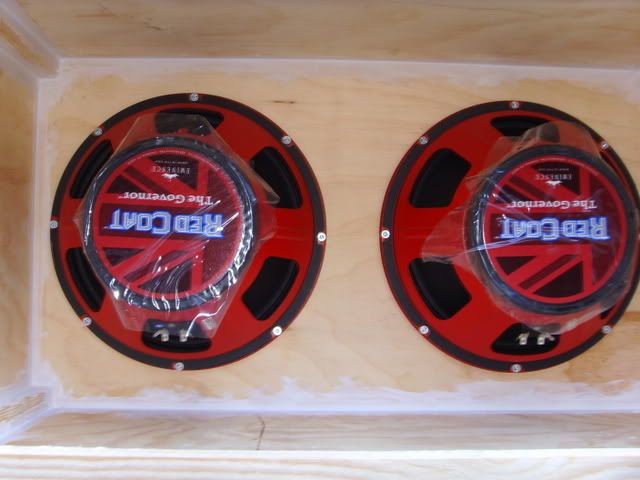
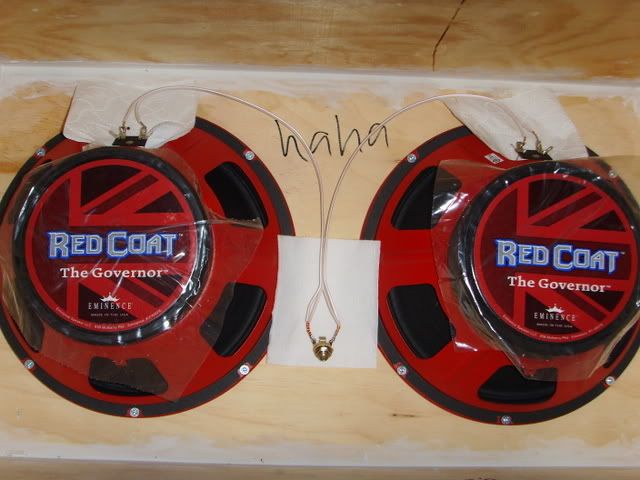
" 'ello govnar!" :wink:

And another one 8)
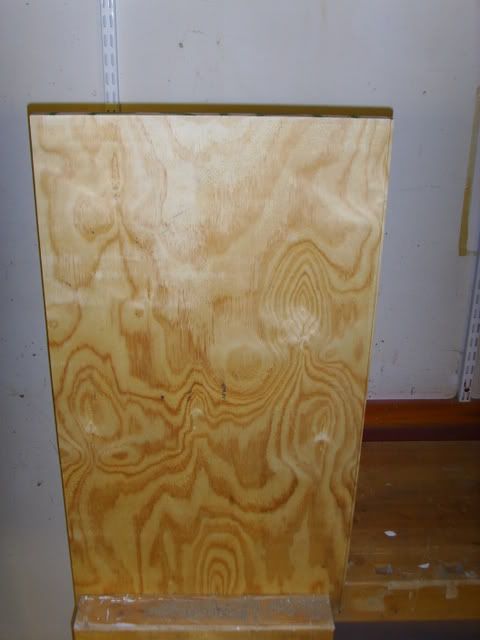
My sister helped me get some wood, look!
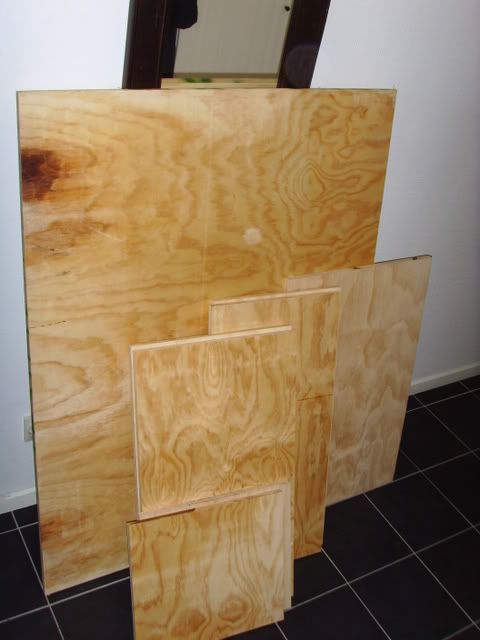
They cut the plywood up at the place for a fixed fee per cut. Well spent money as the only electric tool we have is a drill/screwdriver!
Time to get dirty!
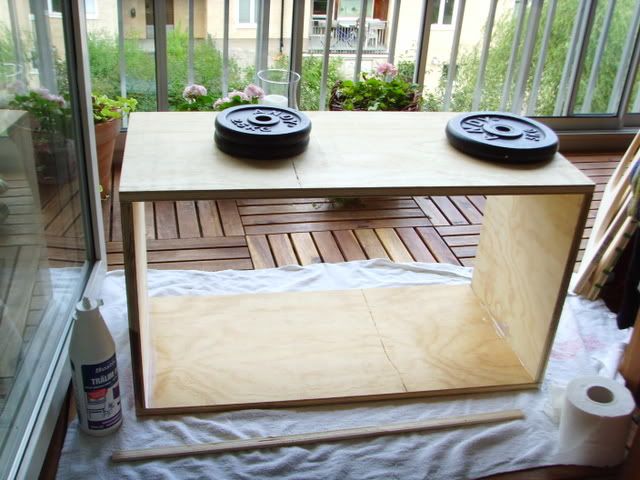
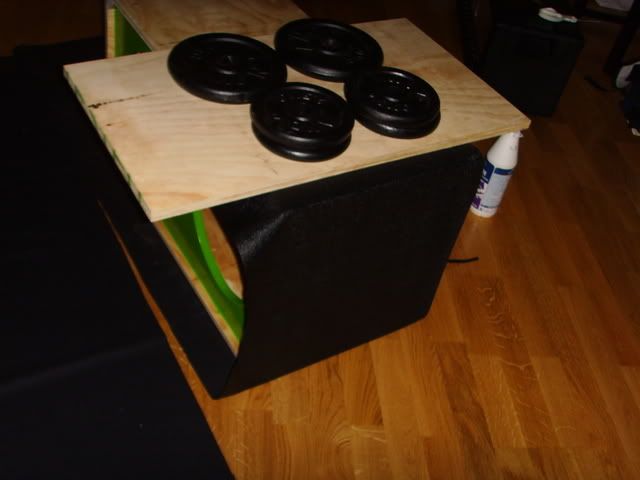
Yeah, that's my *** applying pressure..
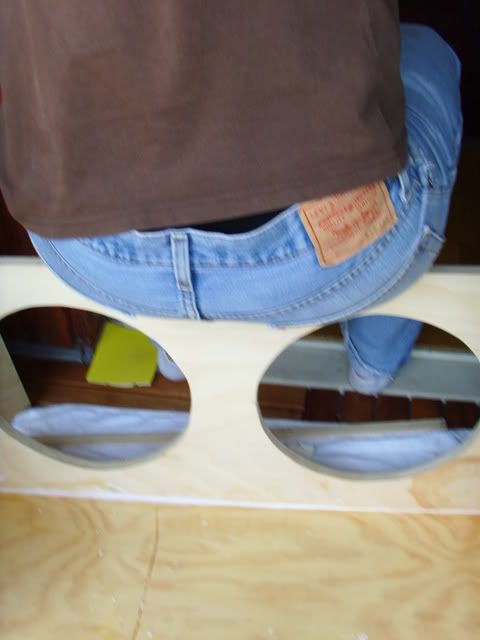
****, need something heavy.. I know! :wink:
The metal corners I had gotten turned out to be to long for the front so I had to come up with something.
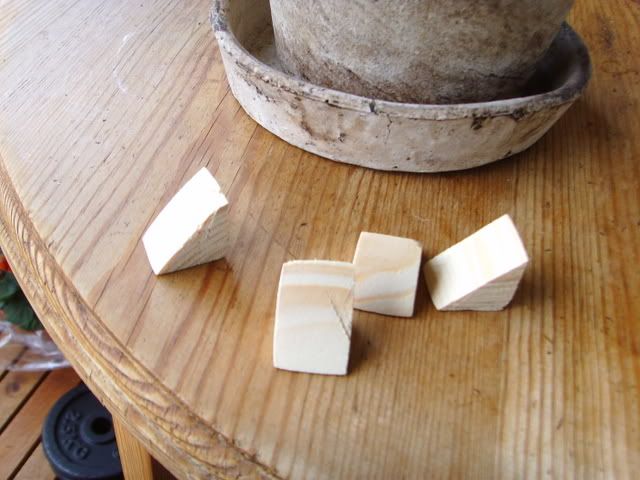
Unfortunately these turned out to be insufficient, so I had to add yet another piece in each corner.. all that work
Anyway..
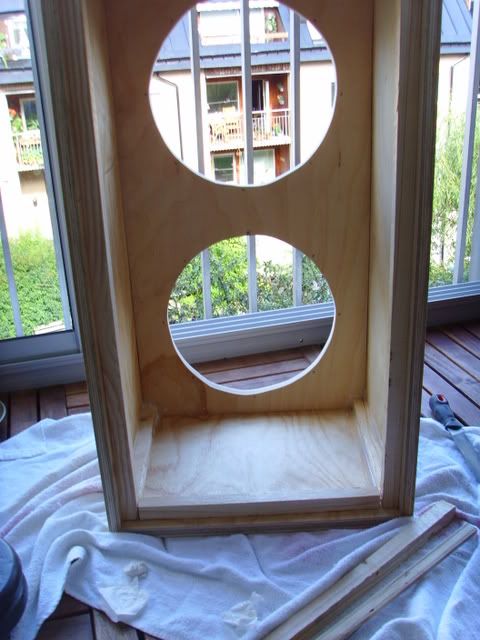
Frame for the back-panel added (+ some inside reinforcements, don't know if they're really good for anything but what the hell). You can also see the markings for the mounting-holes.
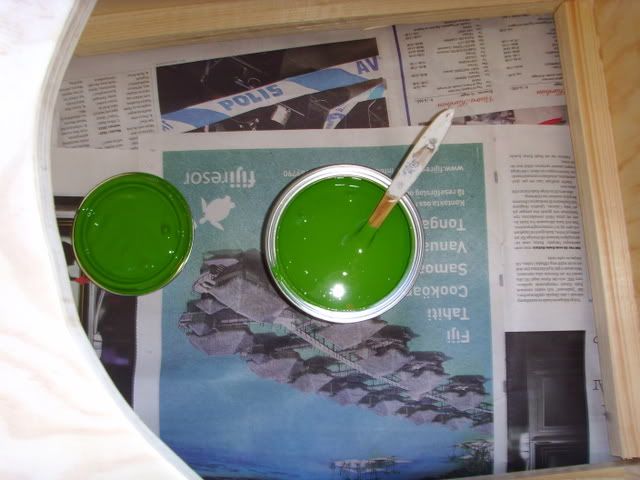
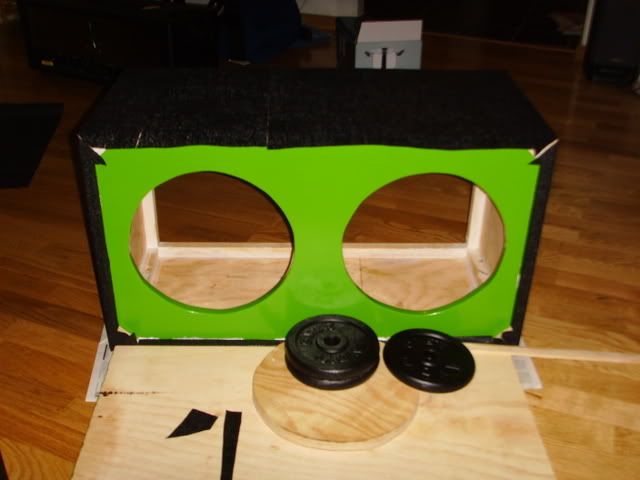
The (insufficient) corners added and this thing is ready for paint (I ended up painting it three times)!
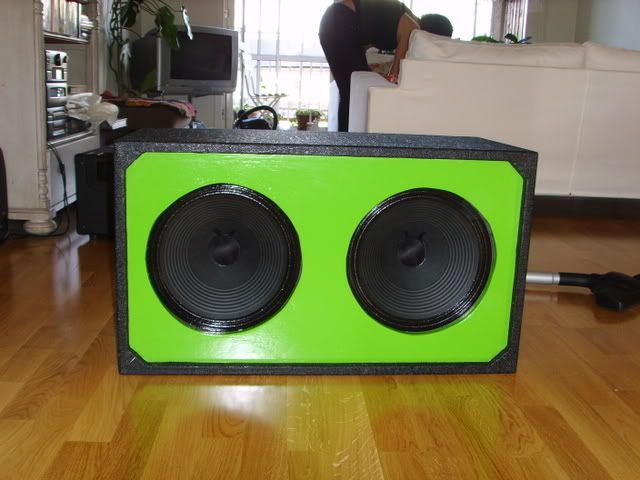
Check that color out! :twisted:
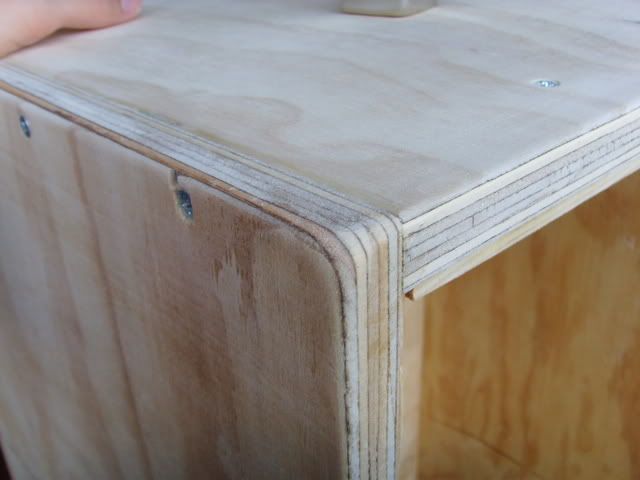
Edges sanded down...
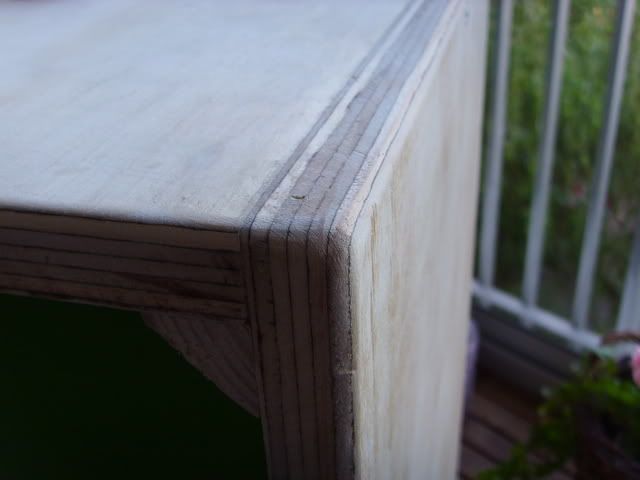
..I also added a few screws as you can see.
Time to put on the vinyl..
..Which basically took an entire day. Folding in the corners was a real *****
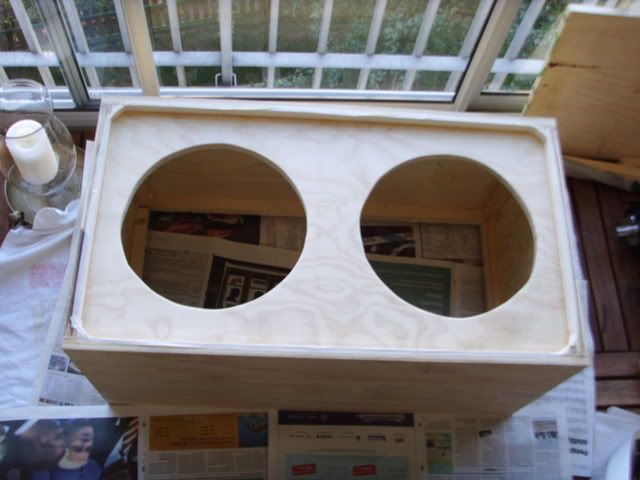
Mounting holes pre-drilled. I was a bit nervous of going way to far right through the baffle, it all worked out just fine though.
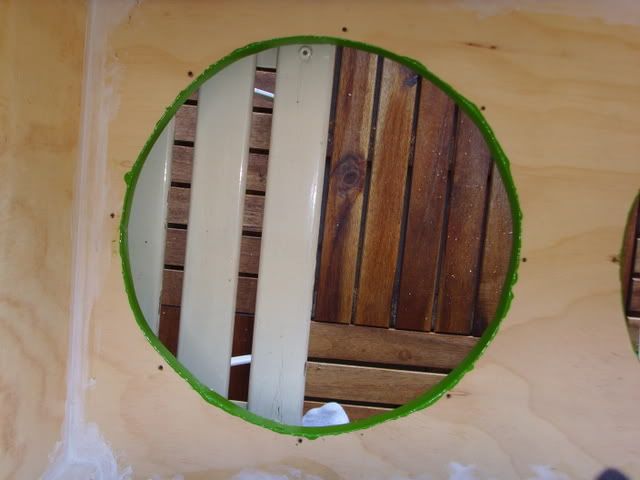
One..
..and two!
Somewhere along it got caulked as well..
Funny story (I think) of when I got the screws for the speakers (the ones I used on the cab (By now I really do hope you have figured out it's a cab!) itself were too long. Those I got from my uncle who helped me cut the baffle-holes btw). I walked in to the hard-ware store, picked out a suitable screw and filled a little plastic bag with a whooping 16 screws. I go to the register to pay and the guy asks for 10 sek (about $1,5). I take out my credit card (didn't have any cash... :lol: ), and the guy goes "uh.. whatever, they're on me". Free screws!
:lol:
Back on topic..
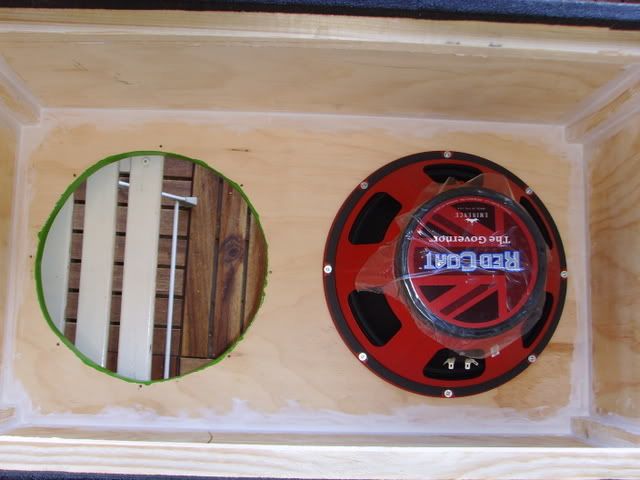
I just had to take a pic cause it was so **** cool to finally have the speakers in!
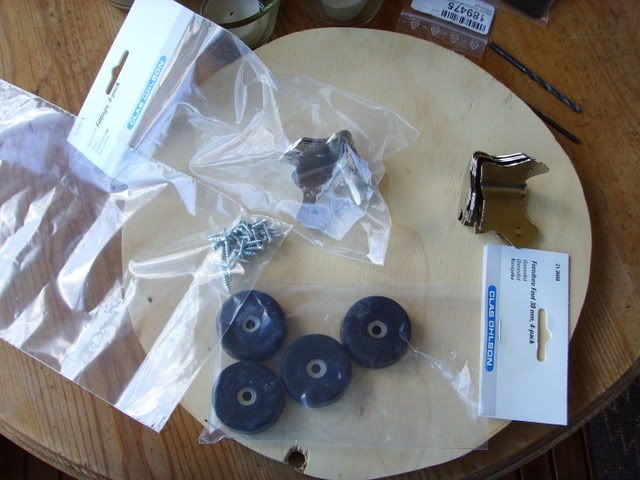
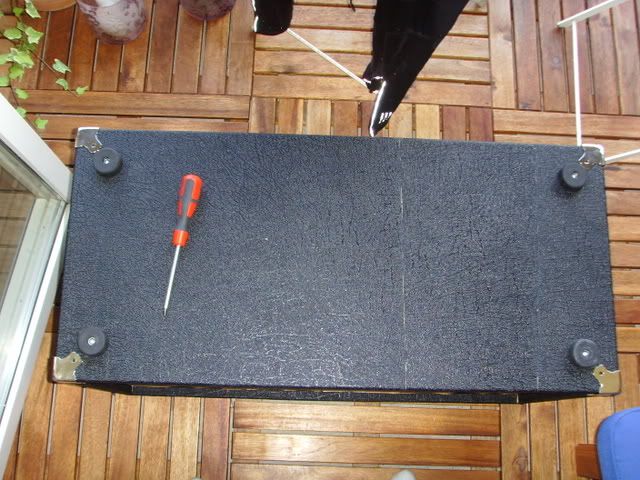
Ok, time for some more little things. Found rubber feet (yeay
Feet installed (did the front corners right after)..
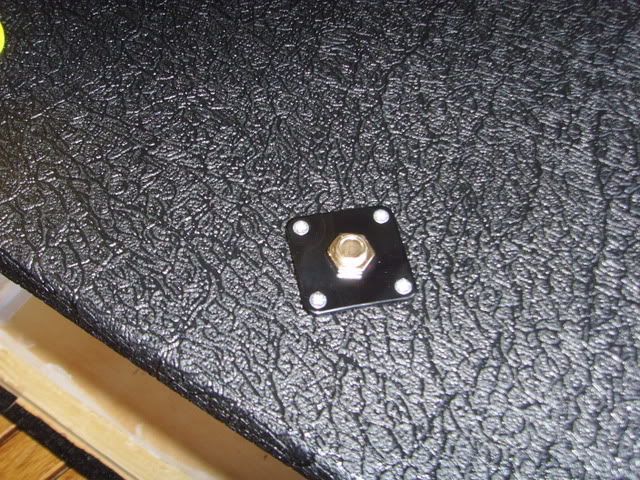
Jack-plate next..
..(guess which finger :wink: :lol: )..
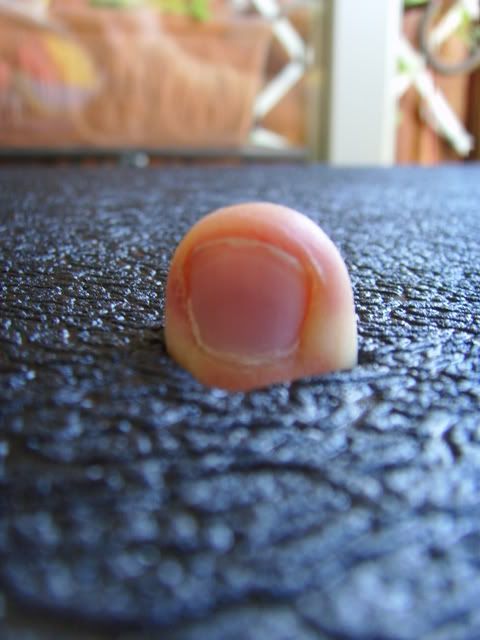
..and now that's on as well.
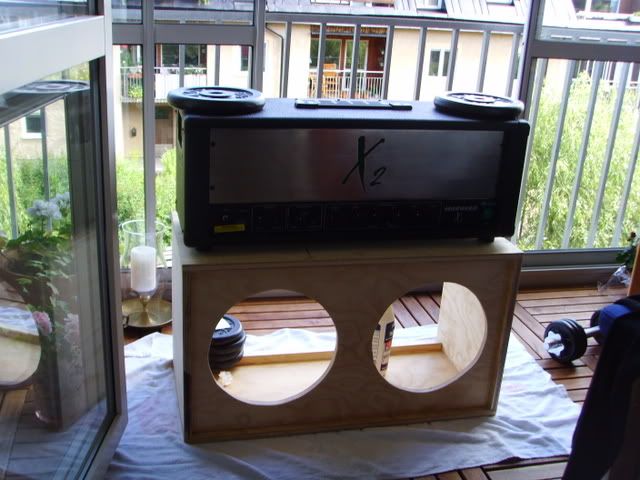
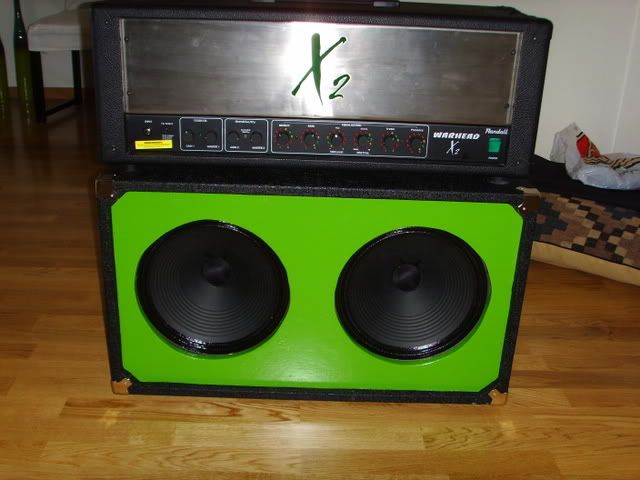
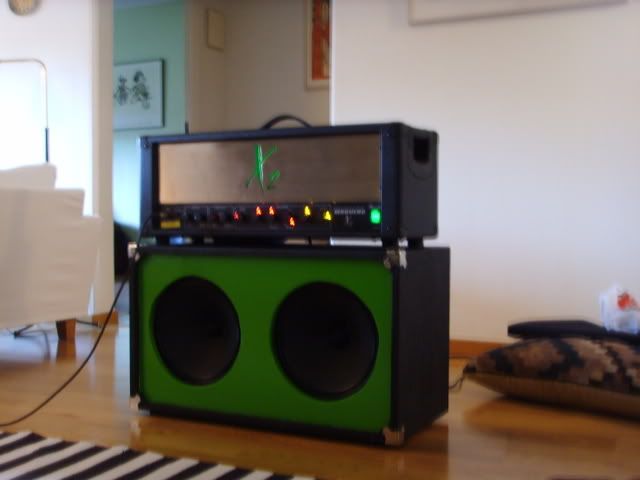
Now, I know what you guys are thinking right now: "****, I wonder what this thing looks like with an X2 on top of it!". Well, here you go!
Wires ready to be soldered.
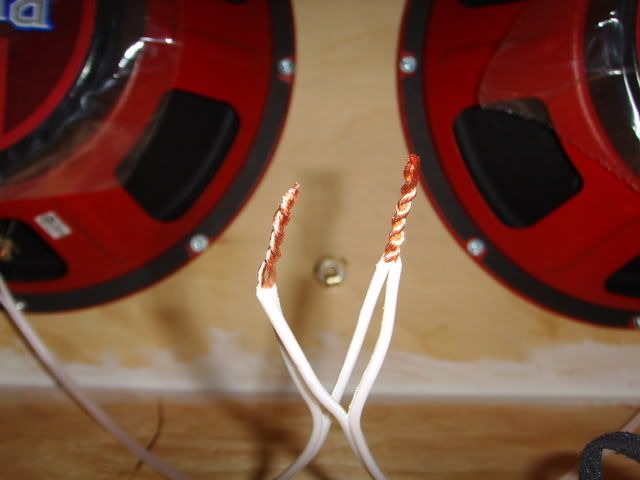
Oh shoot, no solder at home. Hang on, I just gotta go to my uncle again and get some solder.. *leaves*
1,5h
*re-enters* Right, there we go 8) !
All ready to begin..
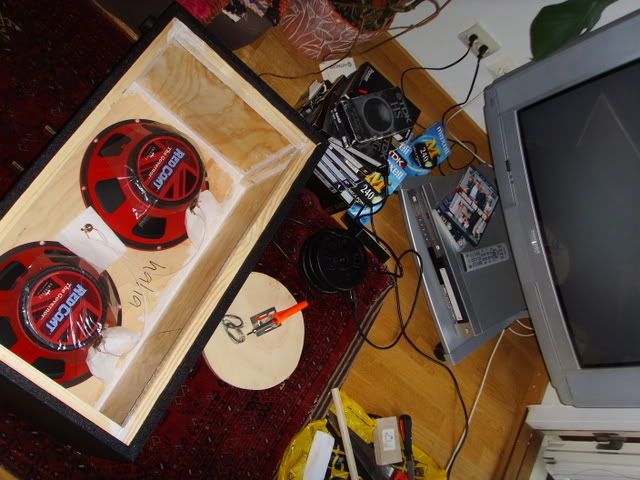
..and done!
IT WORKS!! HALLELUJAH!!
All there is left is fixing the back-panel up. It won't fit as it's too big, so I'm going to have to sand it down and put some vinyl on that too and THEN it will all be finished... after I've fitted the rear corners as well... AND I've found something fitting for a grill..
So there you have it! Lot's of time and glue (!!) later. Whaddya think? 8)
/Phil
*Update*
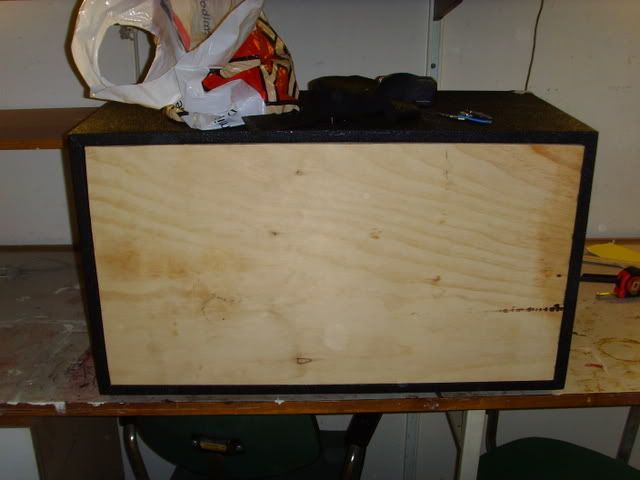
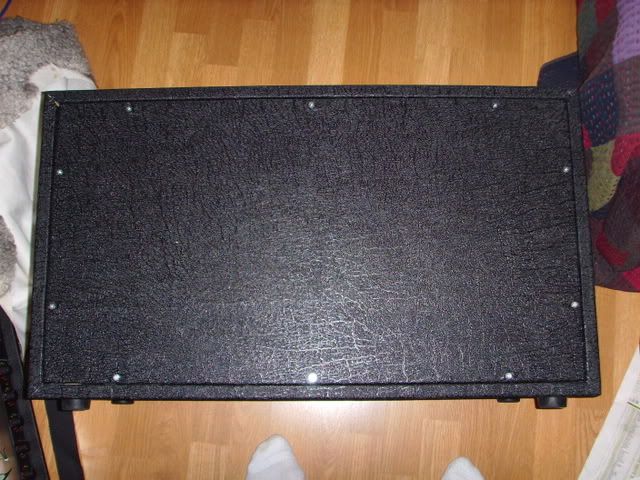
So I finally sawed off enough off the back for it to fit in the cab a couple of days ago.
Pre
Post
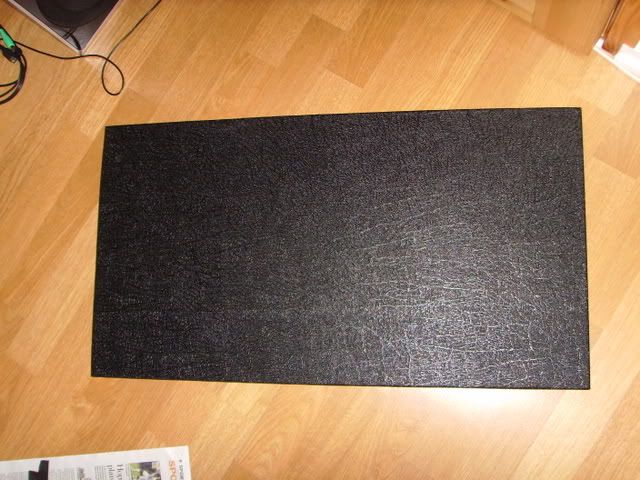
I covered it in the same vinyl I used for the box...
..screwed it :wink: ..
..and fitted the remaining corners. All done yesterday
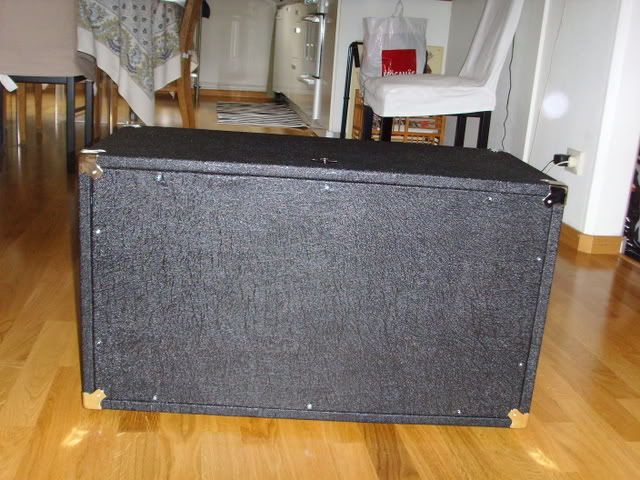
(ok, so not all that much work but whatever..)
Here it is again with the amp (can't have too much pron ey? :wink: )
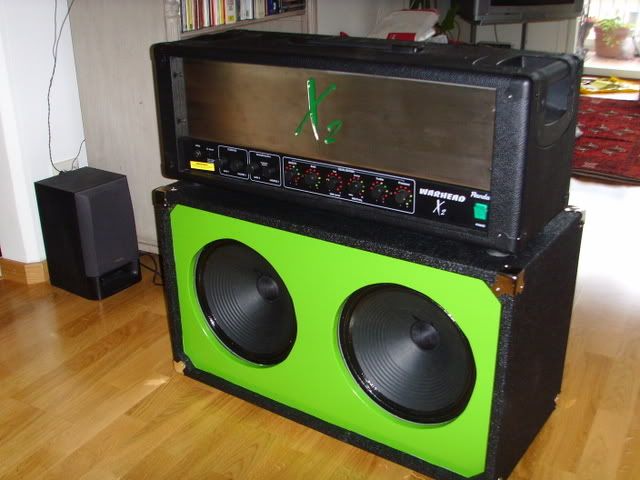
Sounds pretty good to me, only needs a grill now (better safe than sorry, right..).. oh and some handles would be nice! 8)


