


ShamefulAddiction
Well-known member
- Joined
- Aug 23, 2008
- Messages
- 62
- Reaction score
- 0
This is something I have been wanting to do for a long time, so I designed myself a board to build and put all my toys and those I haven't gotten yet.
Sorry I don't have pictures of the process of building the box itself. Wood used was 3/4" poplar for sides, 23/32" plywood for top and bottom, and 1/2" plywood for stomp board.
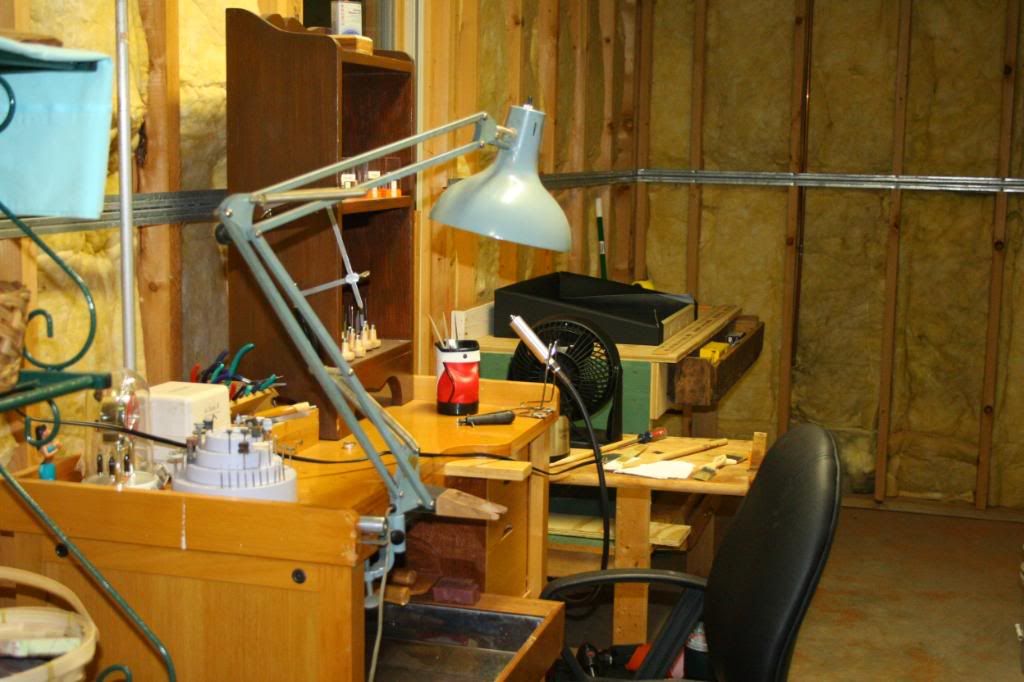
So this is the part of the basement that is the work area. Jewelry bench in the foreground.
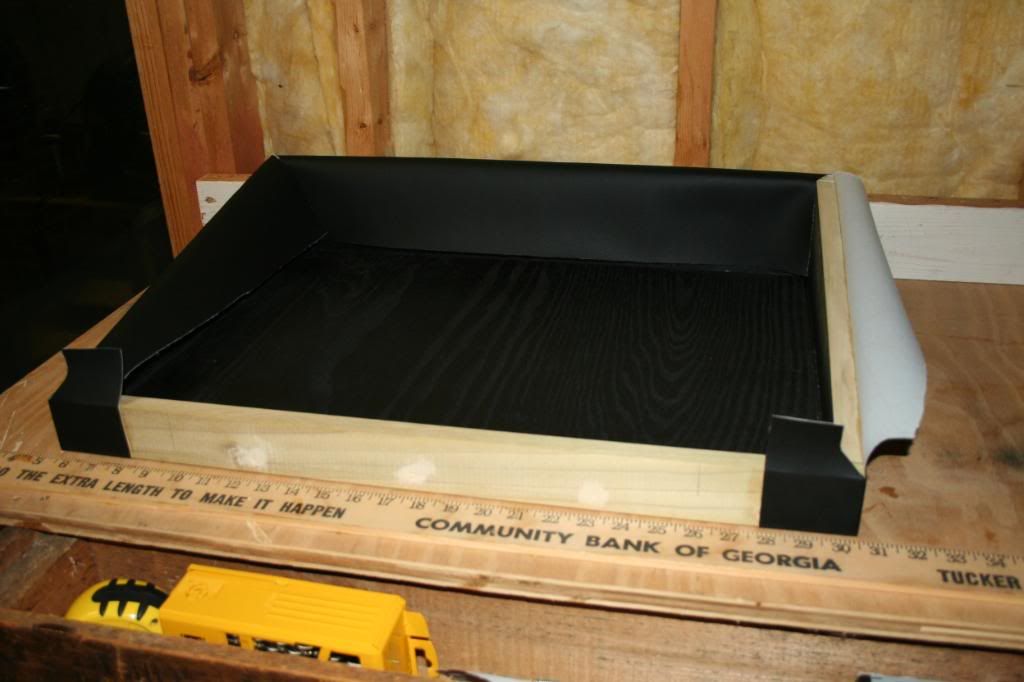

So this is the second half of the board that still needs the bottom piece of vinyl. The piece you see on there is one piece (65" long by about 9" wide to wrap around inner parts), cut to fit with a razor blade.

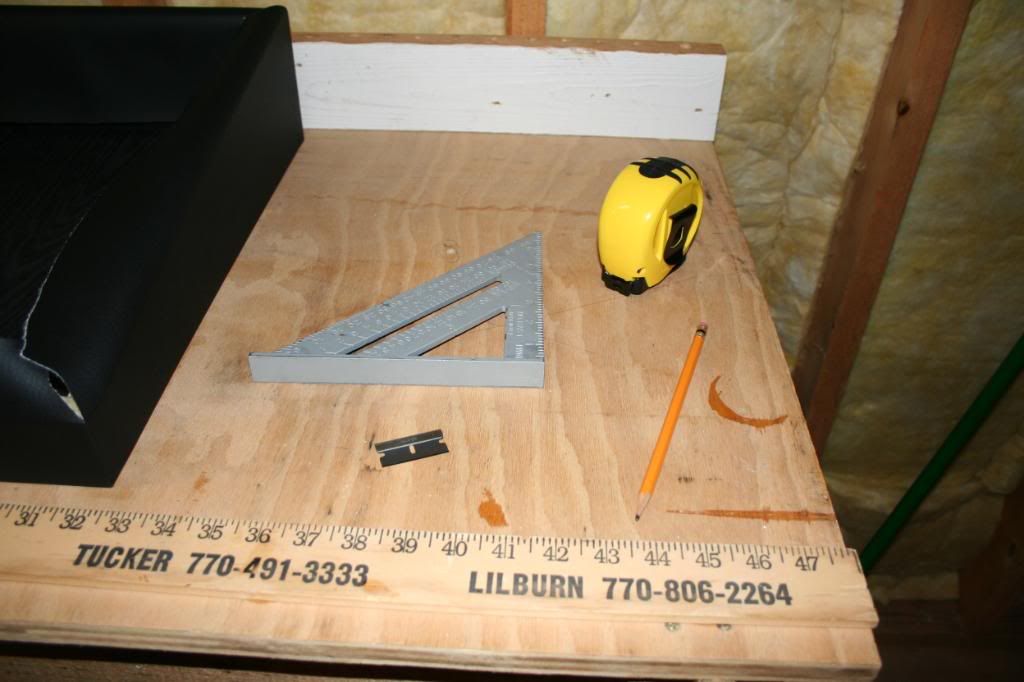
All the tools used to fit and apply the vinyl, minus the glue and the brush.
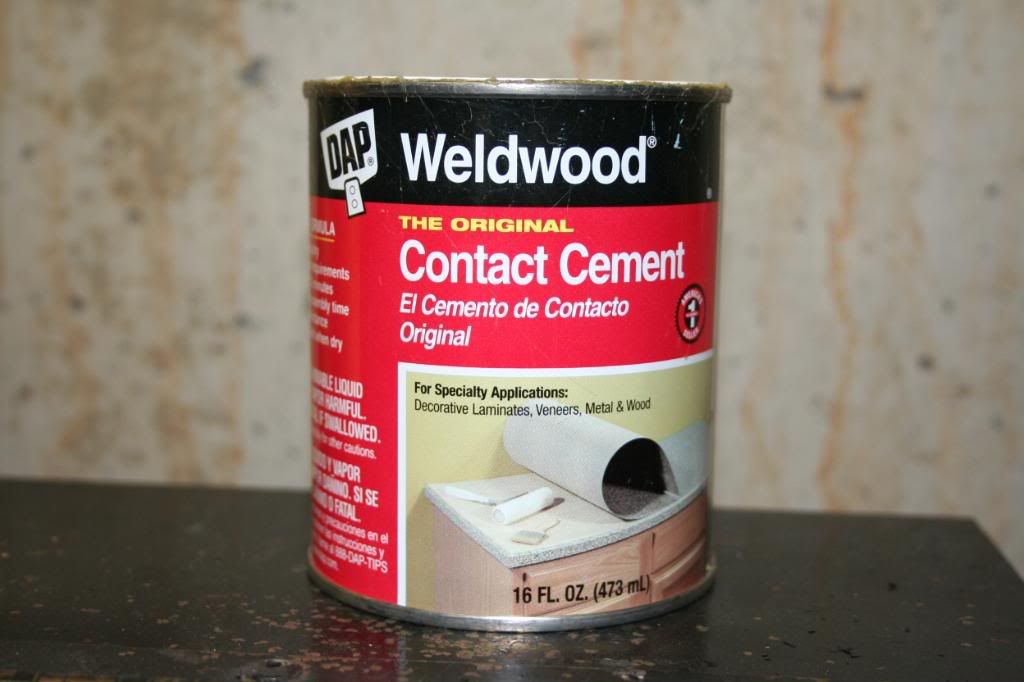
There it is. Used an entire PINT as well as about 4 extra ounces for the last flap of vinyl!
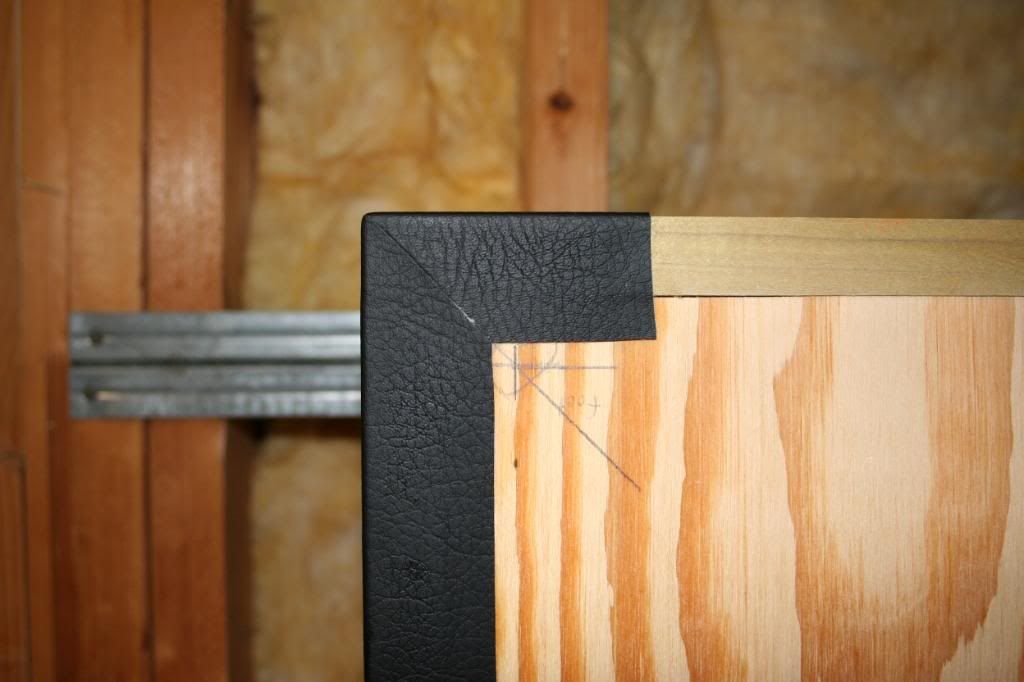
That's one nice 45* angle there
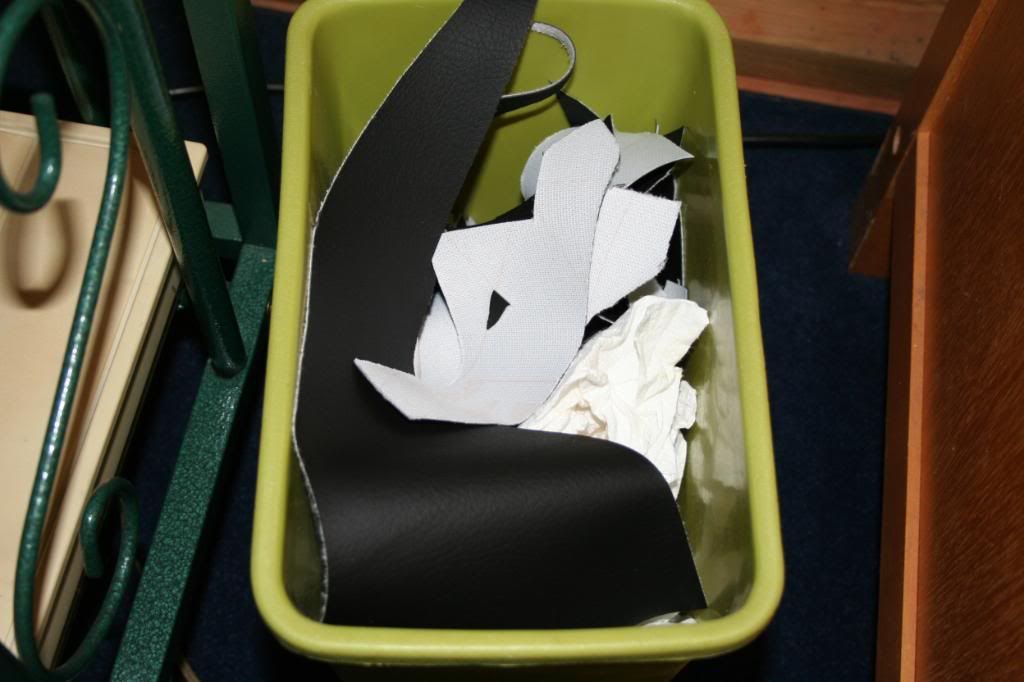
All the trimmings
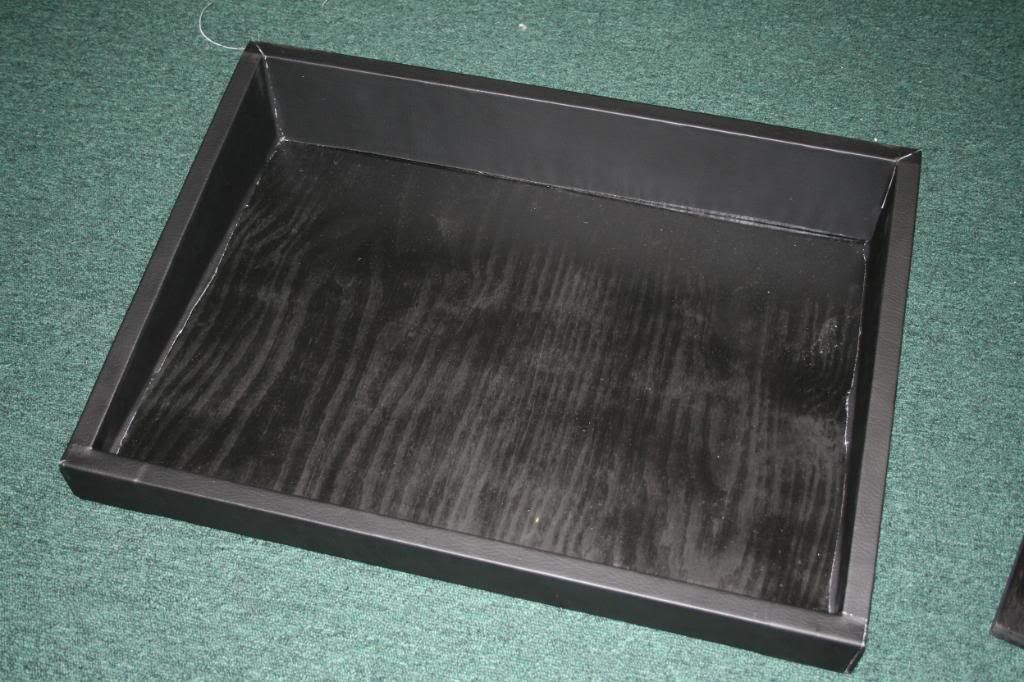
The first half finished as far as vinyl goes.
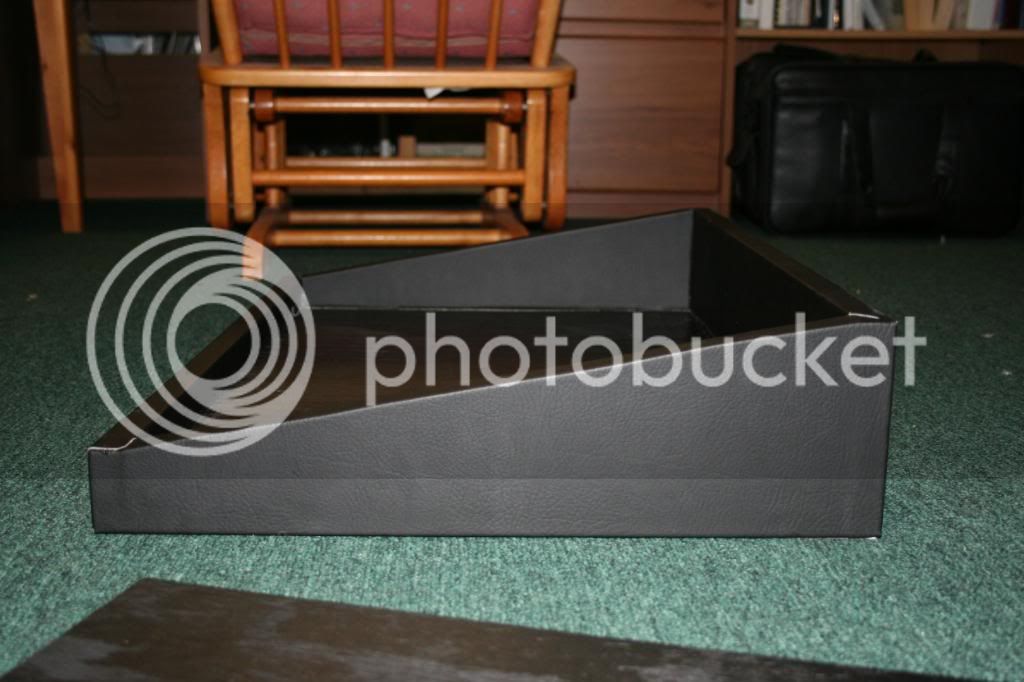
2" to 5" rise. Same on the other half, so 7" tall total.

The board I made for the pedals to go on.
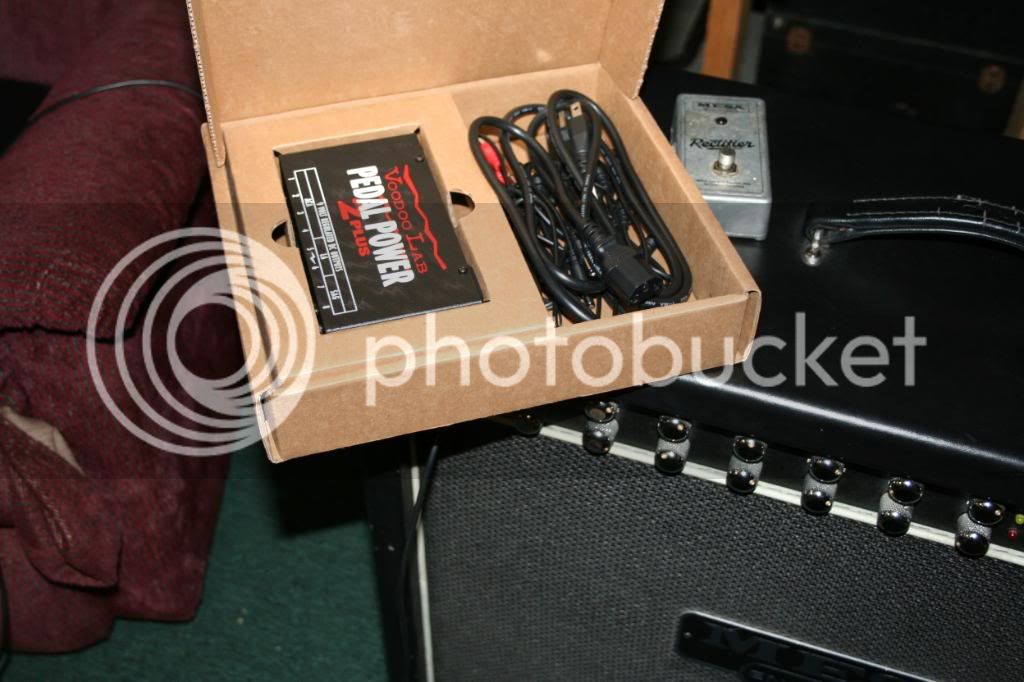
Power supply
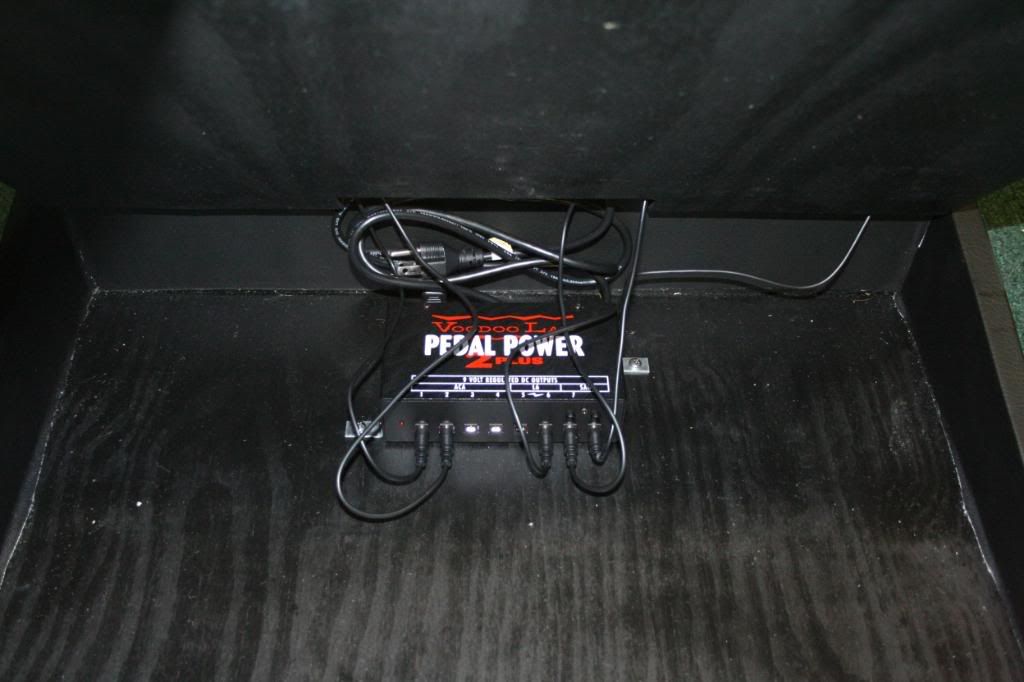
What it looks like after I mounted it onto the board. Used 2- 1" corner supports with the excess trimmed off one side, and new holes drilled for the tiny body screws of the PP2+. Those suckers are thick. only needed two!
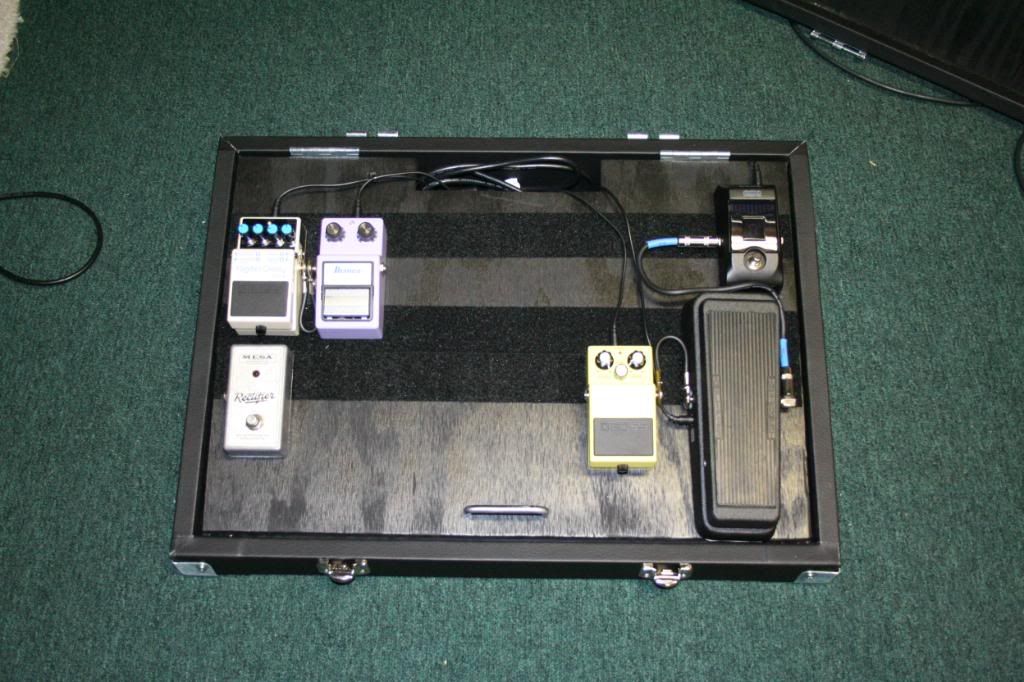
Pedal Layout as of right now. Waiting on the Voodoo Man 4point switch as well as a small stone to take up most of the remaining real estate. I know the velcro looks weird, I still have to add about 4 more feet for two more rows, possibly more may be needed (board is 24" wide). I just attached it at the most urgent points for right now.
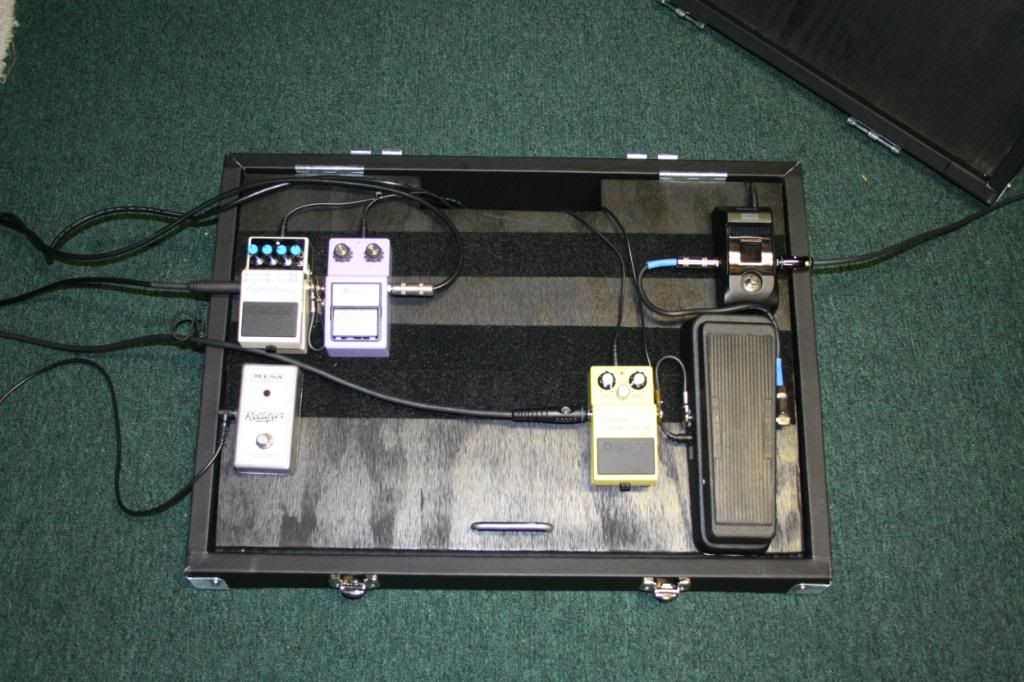
4 cable setup
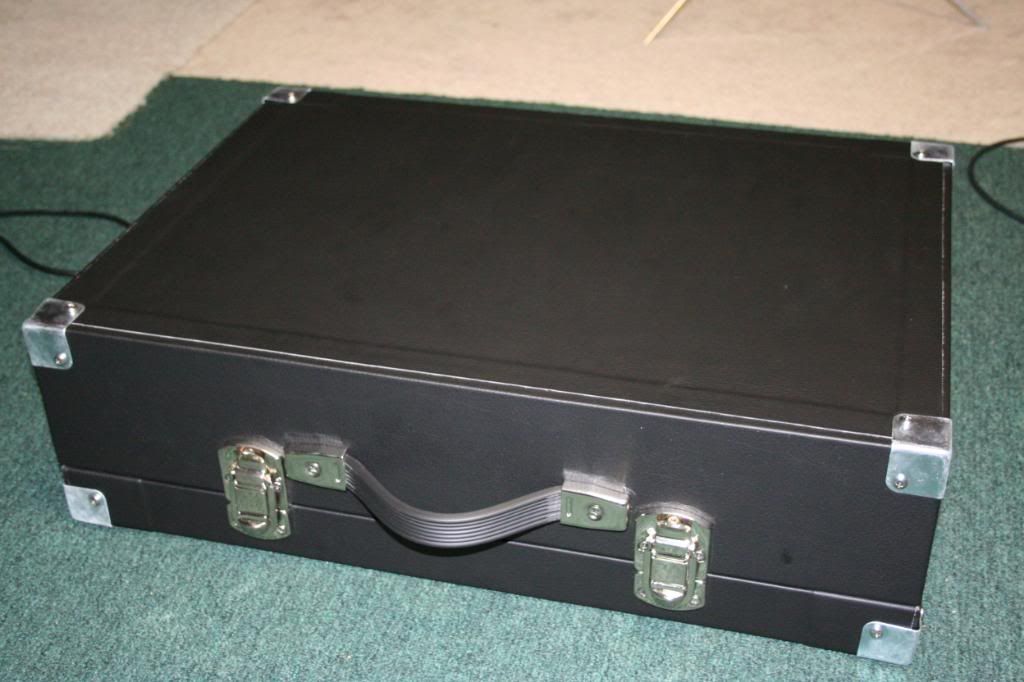
What she looks like with the top attached.
So how did I keep the board from flipping up when carried? Remember the other two corner braces that I didn't have to use? I glued some rubber feet onto themn and secured them to the top of the case so that they will hold down the board when and only when the top is on.
Sorry I don't have pictures of the process of building the box itself. Wood used was 3/4" poplar for sides, 23/32" plywood for top and bottom, and 1/2" plywood for stomp board.
So this is the part of the basement that is the work area. Jewelry bench in the foreground.
So this is the second half of the board that still needs the bottom piece of vinyl. The piece you see on there is one piece (65" long by about 9" wide to wrap around inner parts), cut to fit with a razor blade.
All the tools used to fit and apply the vinyl, minus the glue and the brush.
There it is. Used an entire PINT as well as about 4 extra ounces for the last flap of vinyl!
That's one nice 45* angle there
All the trimmings
The first half finished as far as vinyl goes.
2" to 5" rise. Same on the other half, so 7" tall total.
The board I made for the pedals to go on.
Power supply
What it looks like after I mounted it onto the board. Used 2- 1" corner supports with the excess trimmed off one side, and new holes drilled for the tiny body screws of the PP2+. Those suckers are thick. only needed two!
Pedal Layout as of right now. Waiting on the Voodoo Man 4point switch as well as a small stone to take up most of the remaining real estate. I know the velcro looks weird, I still have to add about 4 more feet for two more rows, possibly more may be needed (board is 24" wide). I just attached it at the most urgent points for right now.
4 cable setup
What she looks like with the top attached.
So how did I keep the board from flipping up when carried? Remember the other two corner braces that I didn't have to use? I glued some rubber feet onto themn and secured them to the top of the case so that they will hold down the board when and only when the top is on.
