IIC+ Tune Up and Restoration- UPDATED

The Boogie Board

Help Support The Boogie Board:

This site may earn a commission from merchant affiliate links, including eBay, Amazon, and others.

Boogiebabies

Well-known member
Joined
Jan 30, 2005
Messages
4,578
Reaction score
20
Location
Korn's Bakery Brooklyn NY
In two months my beloved number one DRG Imbuya 1X12 EV Combo 11/84 will be thirty. She has the original filter caps and although her plate voltage is still steady and she sounds like heaven and hell I am going to do a cap job including bias caps and EQ supply cap. She is also in need of a good cleaning of the reverb springs. The glue holding the foam to the tank has fully evaporated and left them dead and sticky.

The RCS signature has treated her well. She has been sitting for about three years and **** does she still have it.

So, would you like a pictorial on how I do a IIC+ cap job ?

If yes, please provide positive reinforcement. If not, F#$k off and I'll post Bogner guts.
 
JOEY B. said:
"Positive reinforcement !!!" (spoken in my best New York accent :wink: )

I have no accent whatsoever, you know that I picked up your drawl.

Since you have provided me with GN and Viper porn,
I will return the favor.

Starting the job tomorrow.
 
Although my 2C+ has been recapped last year, I would still love to see a nice pictorial. :D
 
Job's done. Me, my trusty C+ and a Mountain Dew.

Have to check the plate voltage, bias, EQ supply and she's ready to go.
I forgot how small these amps really are and how loud !!!

Will post pics tonight.
 
First: Make sure you have no high voltage stored in the caps.


Once the caps are discharged, remove this screw.


Once the screw is removed, gently squeeze the plastic standoffs to release the board.

 
I unsolder the long red wire from the standby switch and fish it out so I can flip the board over.


From here I can flip the board over. I also remove the secondary wires from the board. If you flip the board over a few times to get to the caps, they will snap. Unsolder them from the bottom. From the top of the board they are Red-Red-Red/Blue or 365-365-50.


Removed.


Now you can get to the bottom of the board.


Time to snip out the old preamp filter supply caps. Leave enough lead so you can fish it out during desoldering and pull the nibs out with pliers.


Snipped !!!! Ouch..... A bag of peas please. As you can see, I snipped out the top two 220uf Caps. Please note the original orientation.


Bias caps, snipped out. Note orientation. Use the schematic or draw a little picture for yourself.
As you can see, Mesa did a quick replacement of the bias caps by tying and soldering. I hate that, looks ghetto.

 
While you are here, check the two 150K bleeder resistors. These drain the voltage to ground when the amp is turned off.
These both read 162K,163K and are good.


Also, while you are here and you can see it. Check the 680 Ohm EQ/LDR supply dropper. These take a pounding and get really hot.
This one is good and keeps my EQ supply and LDR supply at factory spec, with help from the zener diode.


Mesa used pounds of solder so I clean it up a bit so I can fish the cap nibs out and clean the holes up.


Pull the nibs out while heating the solder on the bottom. Also, the bottom two caps are only held by solder and come right off.


Be careful on the dropper resistor side of the board. A solder pump can quickly take a huge blob of solder off and leave enough to
keep the droppers in place.


With the nibs out and the holes cleaned up with the braid or a solder pump, pre bend your cap leads and dry fit them.
Please note these are Mesa BMI Capacitors Made in the USA. They are the Mesa # 525335 X 4 at $ 5.75 each.
I use nothing else but these caps.

 
Caps are in and soldered up. Since this is high voltage, don't be lazy if you see a frayed wire or melted wire fix it.
Cleaning up the yellow HV so it does not short later.


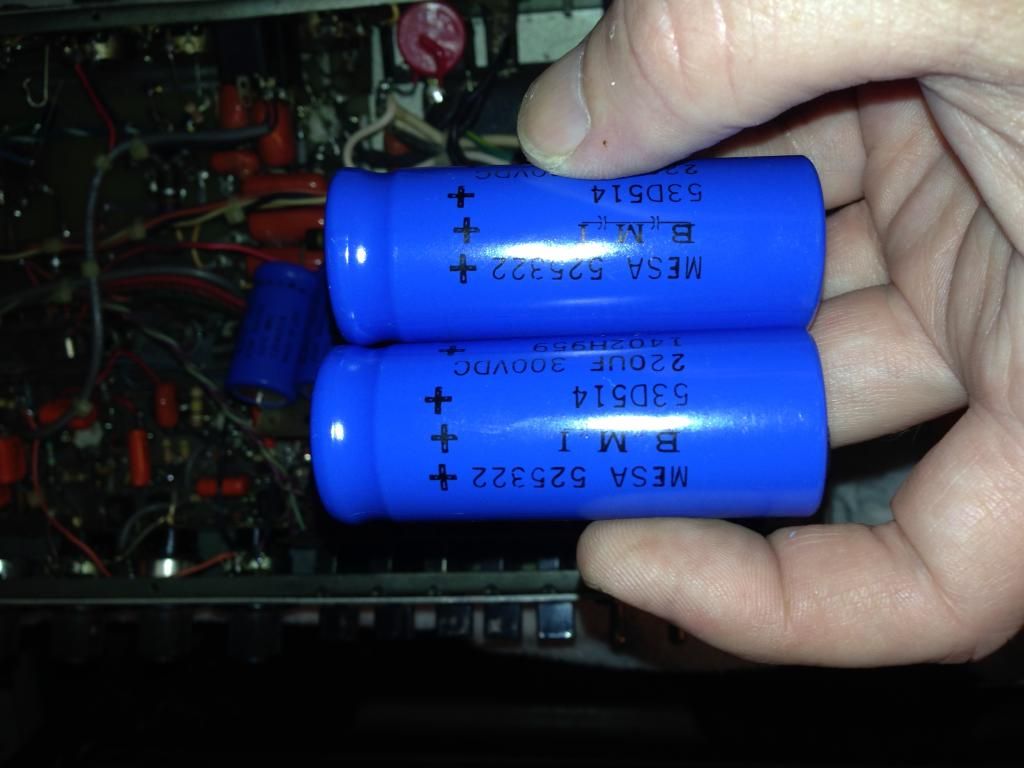
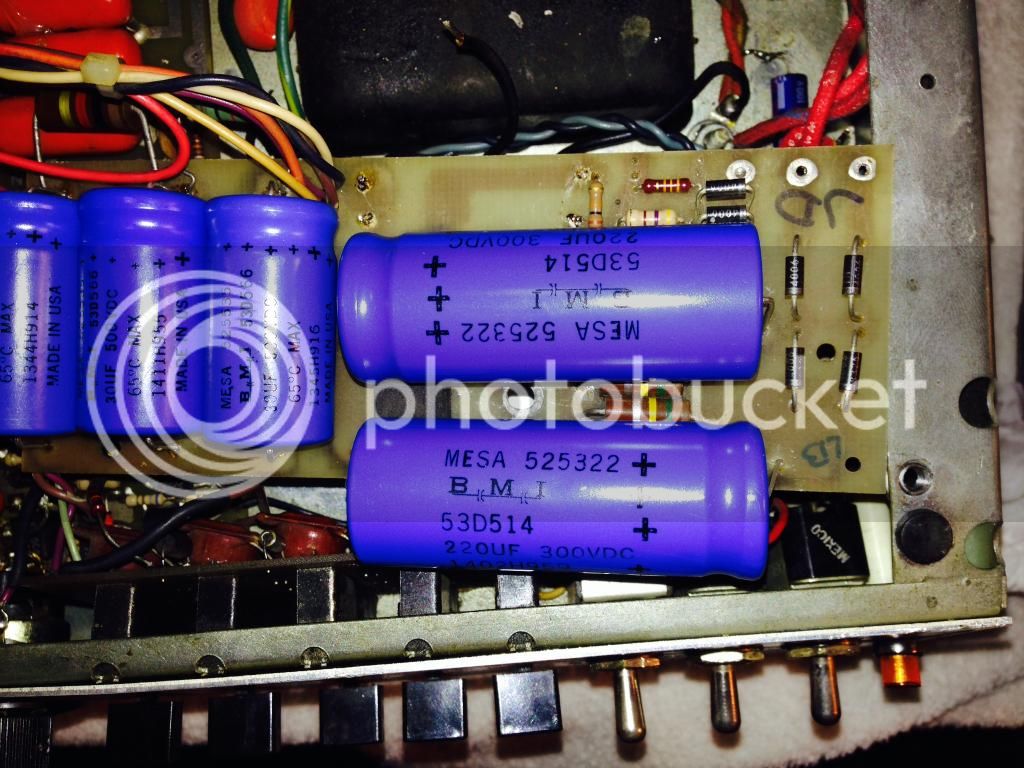
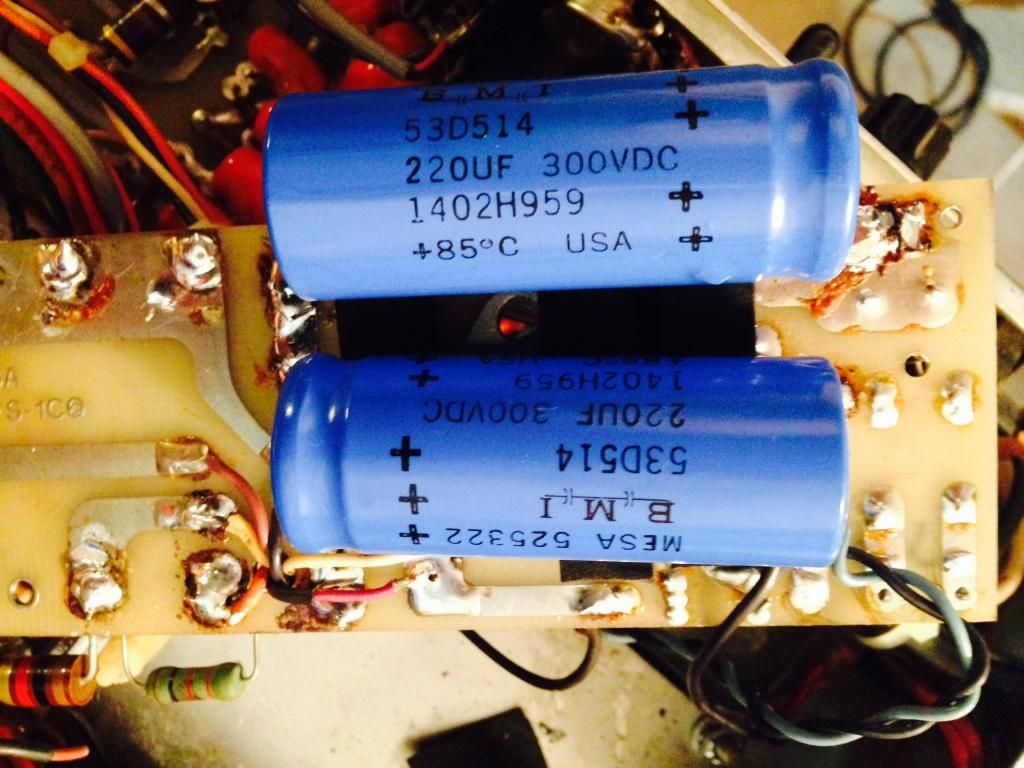
Time to fit the top two caps. Mesa # 525322 BMI Made in the USA X 4 for Simul/100 X 2 for 60W. $ 8.80 each.
Again, your not working on a Crate or Krank. You actually spend less on Mesa parts that are made in America than
junk from Thailand or China.


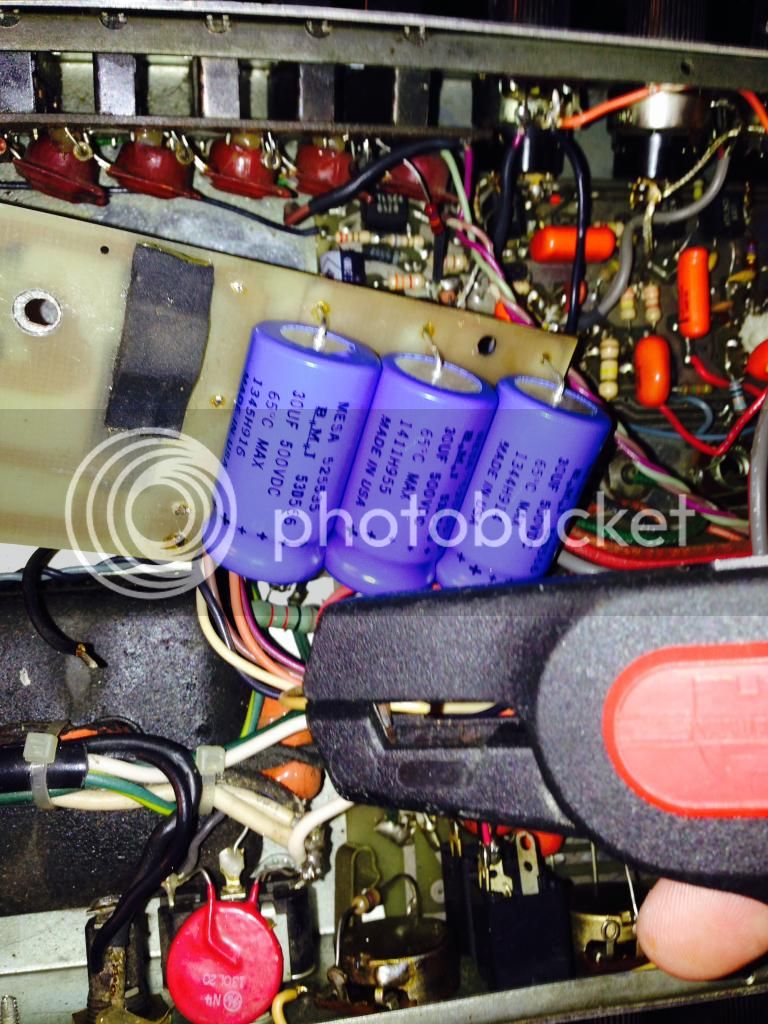
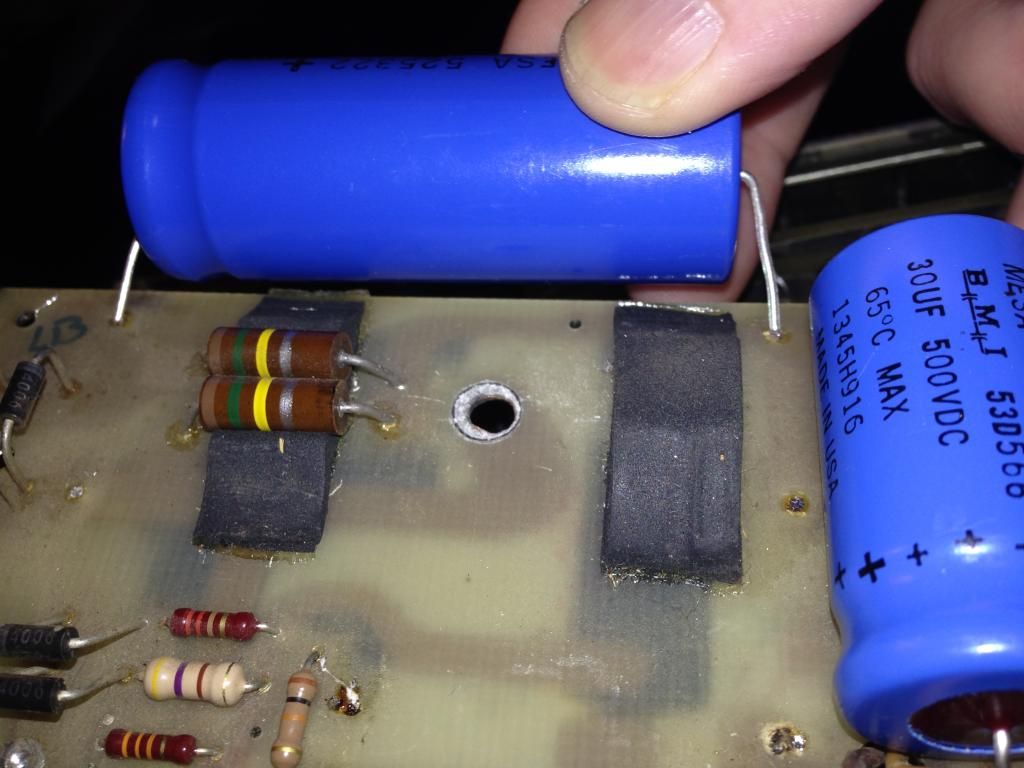
Pre-bend the leads and fit the cap to the board. I leave most of the original solder on the bottom and push the cap in while I heat it up.
This allows me to put pressure on the foam and makes for a seriously tight fit.


Caps are in and soldered tightly against the foam.


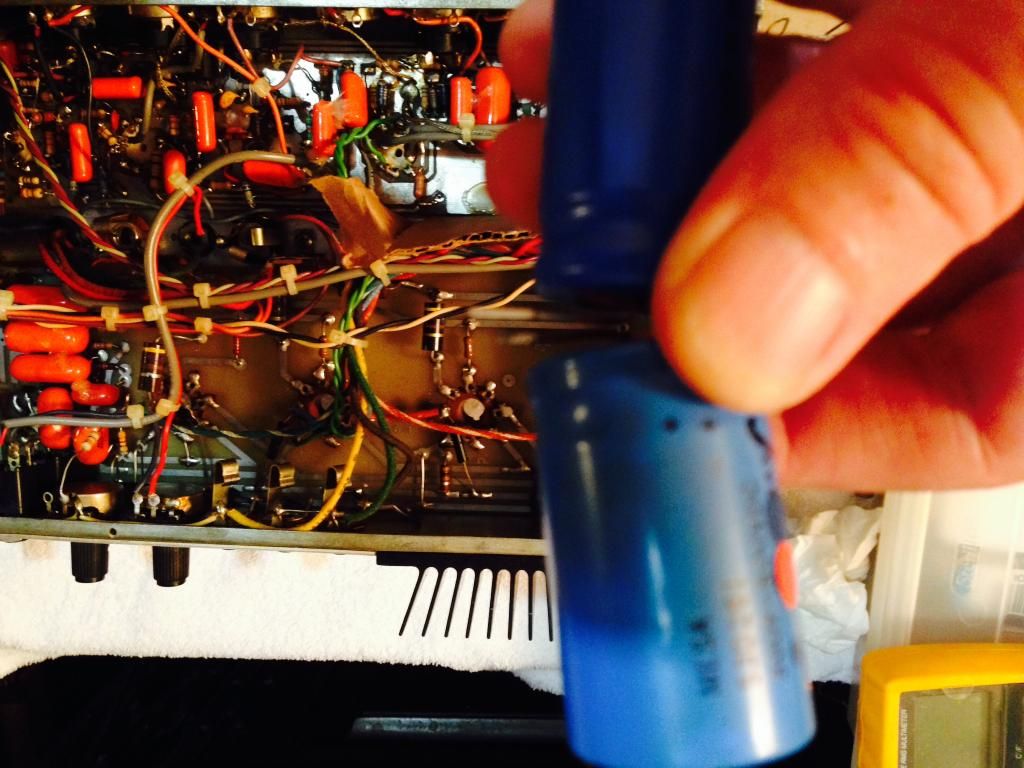
Get your bias caps out and ready to go.


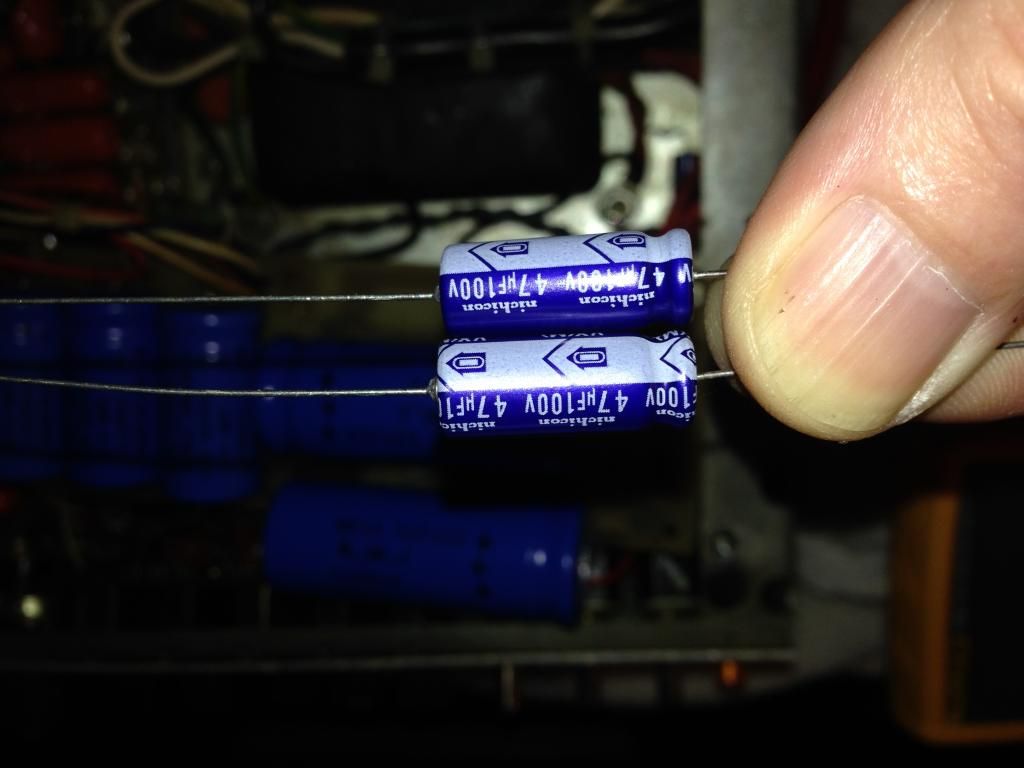
Bias Caps are in and bent over below the board and soldered. Snip the excess lead.


The bottom two caps need the leads bent to attach to the board and so they are not too tall and restrict the PSU board from not fitting.


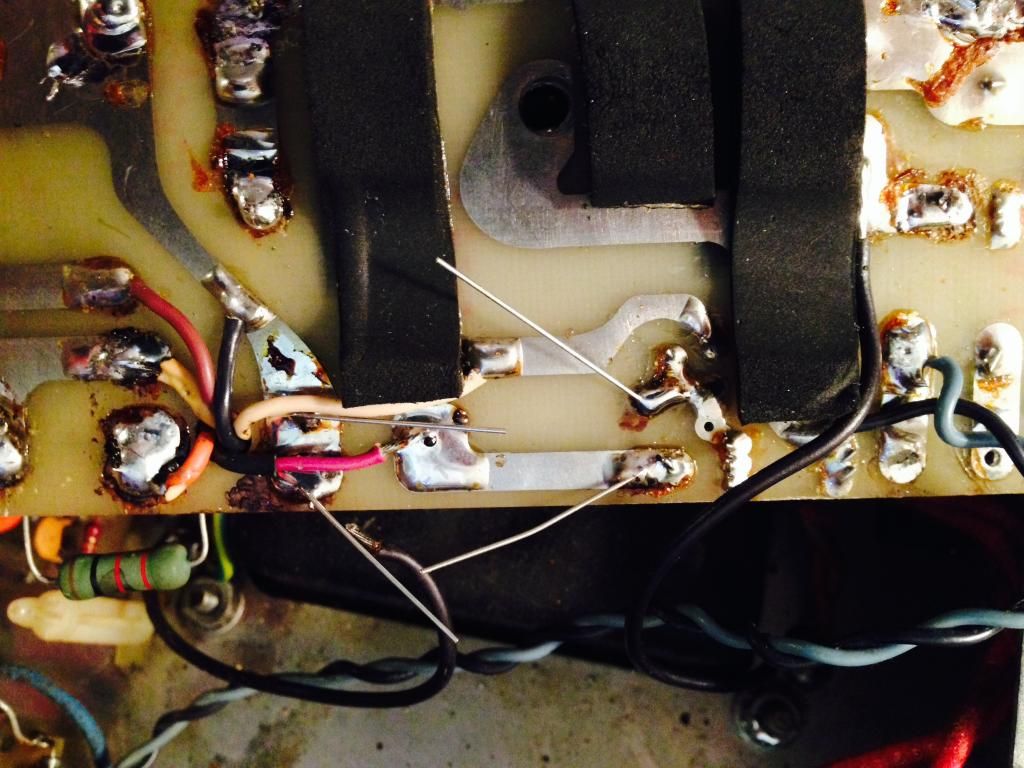
Caps are soldered in and everything is ready to go back together.


Connect the red wire back to the top of the board and the other red wire you can fish between the caps and solder to the standby.
Make sure the black ground wires are still attached and place the secondary wires back. Put the screw back in and snap the board onto the standoffs and you are done.

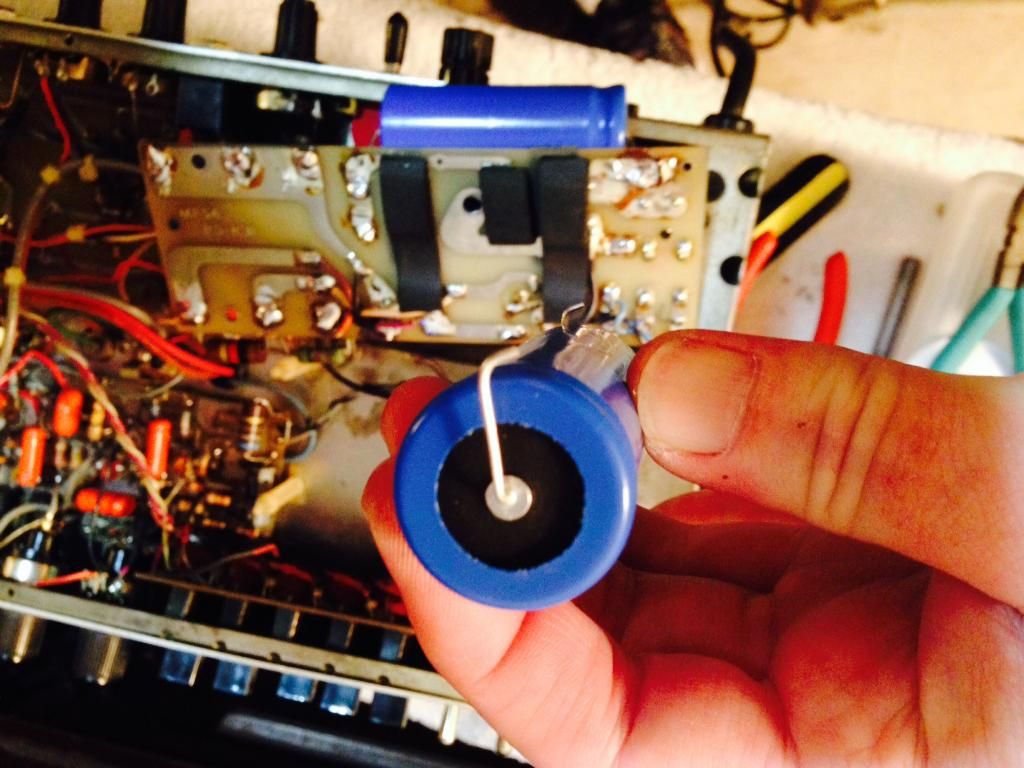
Time for the cap on the preamp board. Use cardboard so you don't burn every wire in sight.


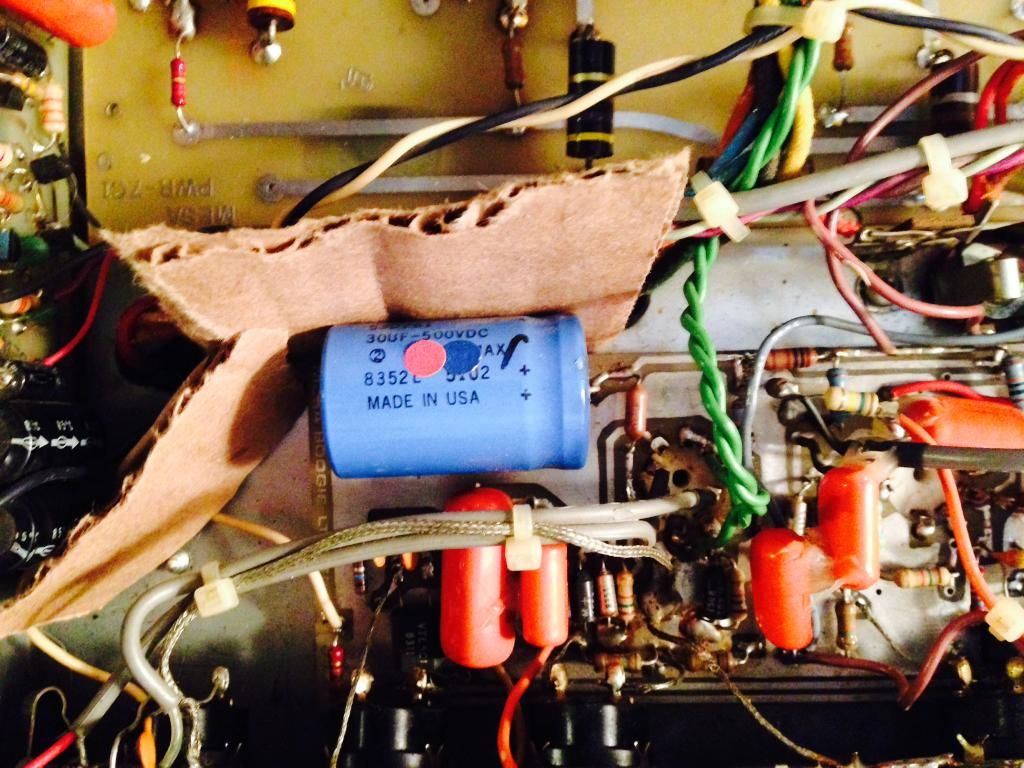
Use the original cap to measure the leads. If you don't you will short the HV to the chassis with the positive end of the cap.


Clean up the holes with a solder pump or braid and solder the cap in. Some people also use some hot glue to hold this cap down.


This one ended up with 481V to the plates, -69V to the bias supply, -45V to the outer sockets, -55V to the inner sockets, 12V to the LDR supply and 35V to the EQ. Almost **** perfect !!!!

When everything is done and buttoned up you can start the amp back up on a variac or a current limiter, but if you don't have one I would not worry.

Here is your final product. :mrgreen:


Nice tutorial,Ed.Do you order those BMI caps directly from Mesa?I looked at Barker Microfarads web site and the links to distributors seems to be just bulk suppliers.I looked at the Mesa site and dont see the caps being offered.Looking at the BMI web site,it seems these caps are basically Spragues,being made at the same facility and by the same people on the same machines.Price you quoted are so much better than the prices for "Spragues".
 
Just got an email response from someone at BMI.It seems that Vishay and Spragues are actually made at the BMI plant in Va.
 
stokes said:
Nice tutorial,Ed.Do you order those BMI caps directly from Mesa?I looked at Barker Microfarads web site and the links to distributors seems to be just bulk suppliers.I looked at the Mesa site and dont see the caps being offered.Looking at the BMI web site,it seems these caps are basically Spragues,being made at the same facility and by the same people on the same machines.Price you quoted are so much better than the prices for "Spragues".


I tried to buy them from BMI, but unless I ordered
In bulk they were twice the price. Mesa has a good price
And it just looks right to me that they say Mesa.
Just got another on that needs a cap job, so kudos to
You for converting me to a capaholic. You are so right about
These things, especially ESR on old caps. I also autopsied a few...
 
Ha! Remember the battles we had back then?Problem then was that I had never checked ESR so I had no absolute figures to back up my argument,just went with what I was taught and what I experienced doing cap jobs for years.I often wonder if those debates we had then had some effect on Mesa's stand.I remember so many people telling me "Mesa or Mike B told me the caps dont need changing".I would talk them into changing them and would always get positive feedback on the change.Now Mesa seems to have reversed and become proponents of changing caps.Anyways,getting back to the BMI's,I contacted a couple of the distributors listed on the Barker MFD site and they all seem to only want to deal in bulk.A couple actually directed me to suppliers that sell Vishay/Sprague,telling me they are made at the same plant.No help,although I still like Sprague Atoms,the price has driven me to use F&T more now.The only problem I foresee getting them from Mesa is that I'm sure they only stock the values they use.I havent gotten a lot of Boogie amps of late,I think I recapped all the MK's in the north east.I had a run there for a couple years when I probably did well over 100 Boogies.Many ofthem came as a result of the debates you and I had here.I've been getting more vintage amps that use 8,10,16 and 20uf,not too common in Mesa's.Prices are great from Mesa.Interesting note on the BMI site.BMI was actually begun by the guy named Barker who was the VP of Sprague and bought the factory where Sprague's were made,and actually are subcontracted by Sprague to make the Atoms.
 
Nice post. Like the details about how to avoid breaking wires to the filter cap board. I learned the hard way on my MKIIA. Probably one reason why Mesa recommends (on my original instruction sheets) to clip the leads on top when replacing. Agree that getting to the bottom of the board looks better.
 
Back
Top